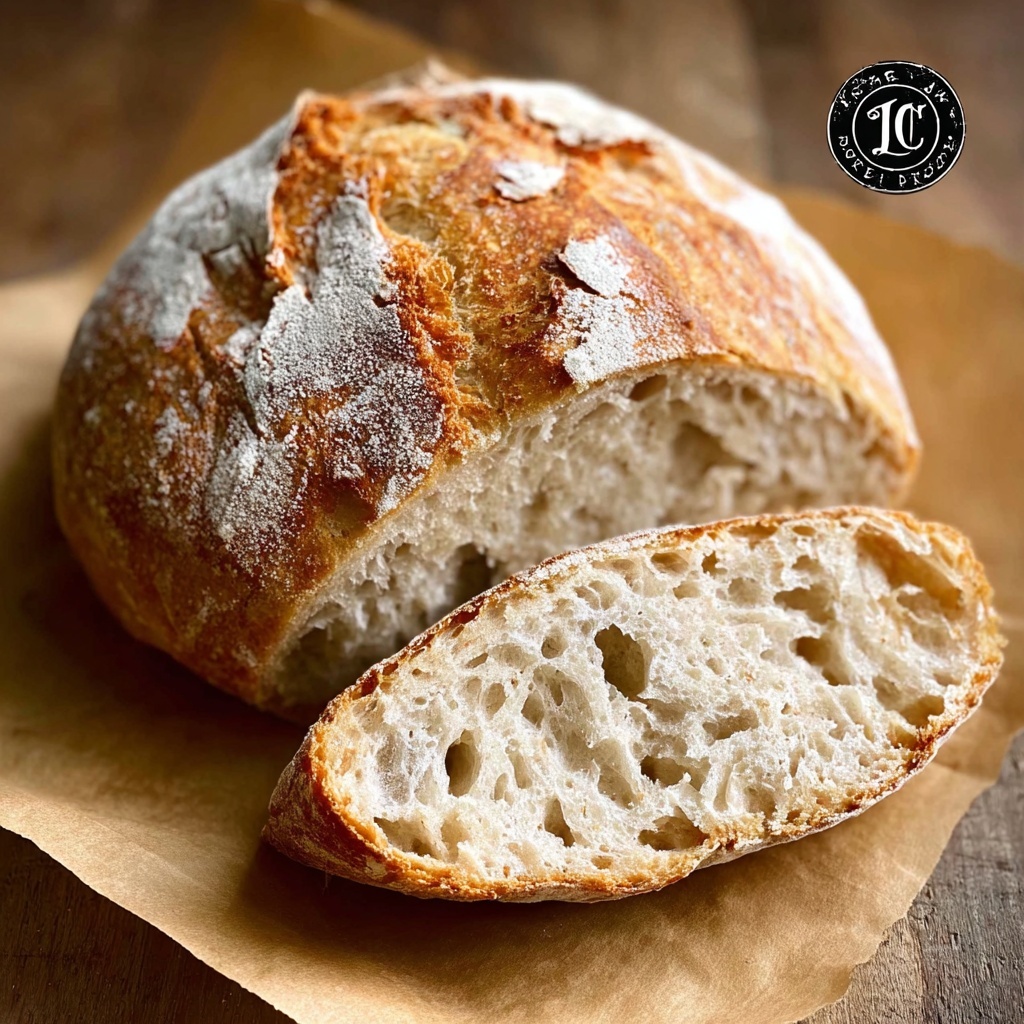
If you’re craving a bakery-quality loaf right at home without the fuss of kneading or complicated steps, this Dutch Oven No Knead Crusty Bread Recipe is your new best friend. With just a handful of basic ingredients and some patience, you’ll transform simple pantry staples into a golden, crusty masterpiece that fills your kitchen with an irresistible aroma. The magic lies in slow fermentation and baking in a Dutch oven, which creates that perfect crackly crust and soft, chewy interior that good bread dreams are made of.
Ingredients You’ll Need
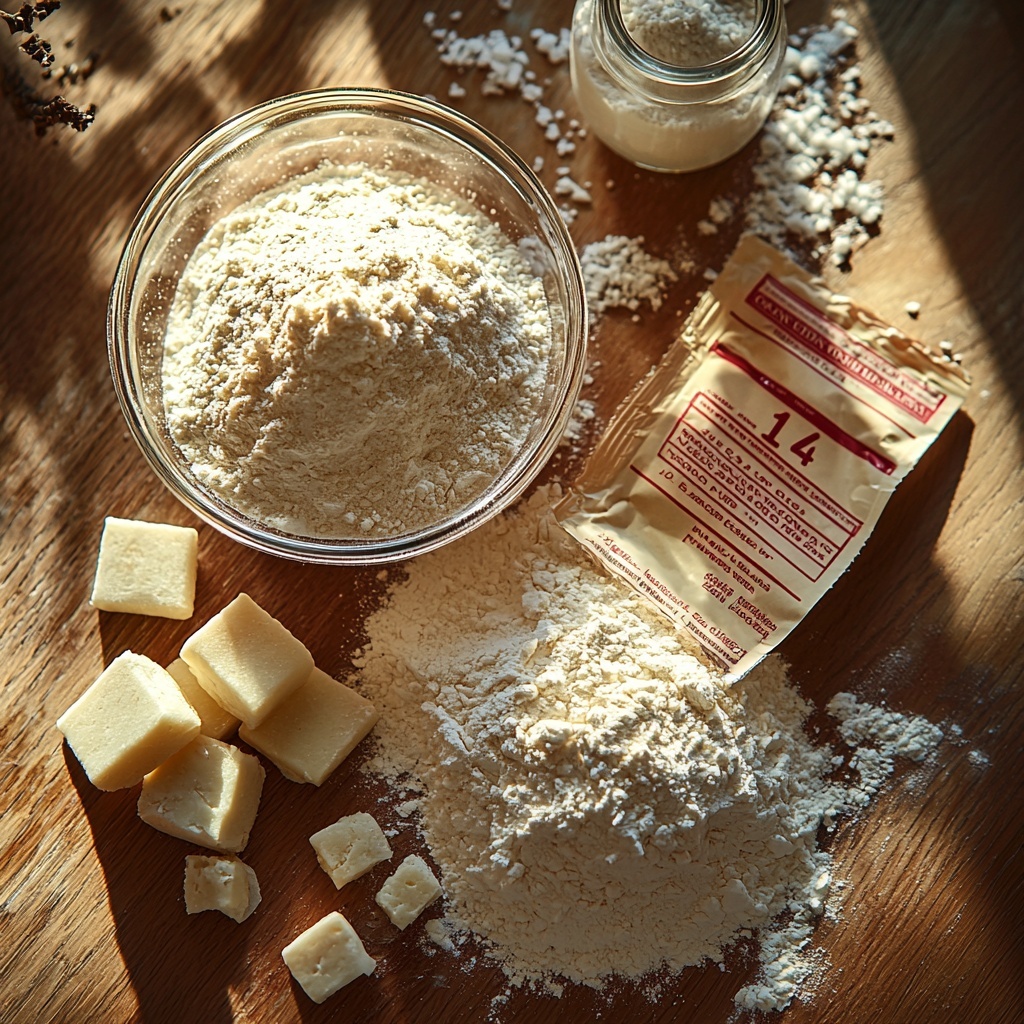
Every ingredient in this Dutch Oven No Knead Crusty Bread Recipe serves an essential purpose, making the process straightforward yet the outcome spectacular. These humble components come together to build flavor, texture, and that unmistakable golden crust.
- Warm water: About 100 degrees F is ideal to activate the yeast without killing it, setting the stage for a perfect rise.
- Yeast (active dry, instant, or quick rise): The living organism that helps your dough puff up, creating light and airy bread.
- Fine grain salt: Enhances the flavor and strengthens the dough’s gluten network, contributing to texture.
- All-purpose flour: The foundation of the loaf, providing structure and that tender crumb we love.
How to Make Dutch Oven No Knead Crusty Bread Recipe
Step 1: Activate the Yeast
Start by combining warm water, yeast, and salt in a large bowl. Stir gently until everything dissolves. This warm mix wakes up the yeast and begins the bread’s fermentation process. It’s the first step toward that delightful bread aroma.
Step 2: Mix in the Flour
Add the flour all at once and stir just until a sticky dough comes together—don’t stress about fully incorporating every bit. The dough will be wetter than traditional bread, which is key for developing texture without kneading.
Step 3: Let the Dough Rise
Cover your bowl and set it somewhere warm to rest for 2 to 3 hours. During this time, the dough will double in size, bubbling with life as the yeast produces air pockets—this slow rise is what creates the wonderful flavor and airy crumb.
Step 4: Preheat the Oven and Dutch Oven
While your dough is rising, place your Dutch oven inside your oven and preheat both to 450 degrees F. Heating the Dutch oven beforehand is crucial to mimic a professional steam-injected oven, which locks in moisture and produces that amazing crust.
Step 5: Shape the Dough
Carefully transfer your risen dough onto a piece of parchment paper dusted with flour. Shape the sticky dough gently into a round loaf—handling it lightly keeps that air inside so your bread stays light and fluffy.
Step 6: Score the Top
If you want, use a sharp knife or razor blade to make a few shallow slits on the top of your loaf. This not only looks beautiful but also guides the bread as it expands in the oven.
Step 7: Bake Covered
Lift the parchment paper with the dough and place it gently into the blazing-hot Dutch oven. Cover with the lid to trap steam, allowing the bread to rise further and develop its signature crust.
Step 8: Bake Uncovered
Bake covered for 35 minutes, then remove the lid to let your loaf brown beautifully for an additional 5 to 10 minutes. This final step crisps up the crust to ideal crusty perfection.
Step 9: Cool Before Slicing
Once baked, move your loaf onto a wire rack and let it cool for at least 10 minutes. Cooling sets the crumb and prevents a gummy texture, making each slice tender yet perfectly structured.
How to Serve Dutch Oven No Knead Crusty Bread Recipe
Garnishes
This rustic bread shines on its own but can be taken up a notch with a light brush of melted butter or an aromatic drizzle of extra virgin olive oil and a sprinkle of flaky sea salt. Fresh herbs like rosemary or thyme also add a fragrant touch when sprinkled just before serving.
Side Dishes
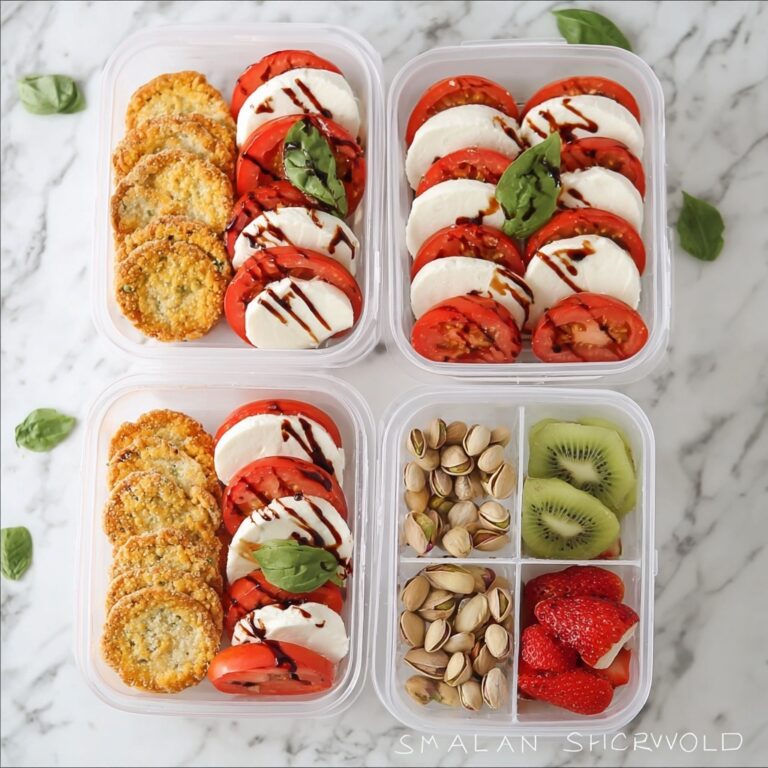
Pair your crusty homemade bread with hearty soups, creamy cheeses, or a colorful salad. It’s especially wonderful alongside tomato soup, a rich chowder, or simply alongside a bold cheese board for a comforting meal or snack.
Creative Ways to Present
Try serving slices of your Dutch Oven No Knead Crusty Bread Recipe with a selection of flavored butters or dipping oils. Toast thick slices and top with smashed avocado, smoked salmon, or roasted garlic for a crowd-pleasing appetizer.
Make Ahead and Storage
Storing Leftovers
Store any leftover bread in a paper bag or wrapped loosely in a tea towel at room temperature to preserve the crust’s crispness. Avoid plastic bags if you want to keep that delightful crust from softening.
Freezing
This bread freezes beautifully. Wrap the fully cooled loaf tightly in plastic wrap and then in foil before freezing. When ready to enjoy, thaw at room temperature for several hours or overnight.
Reheating
To refresh your bread’s crust and warmth, pop slices or the whole loaf in a 350-degree F oven for 10 to 15 minutes. This brings back that freshly-baked feeling and texture in no time.
FAQs
Can I use whole wheat flour in this recipe?
Absolutely! You can substitute some or all of the all-purpose flour with whole wheat, but keep in mind that the texture may be denser and the rise a bit slower. Mixing in around 25% whole wheat flour is a great balance.
Do I really have to use a Dutch oven?
The Dutch oven helps trap steam, which is essential for creating the characteristic crust. If you don’t have one, you can mimic the effect by placing a metal baking pan filled with hot water on the oven floor to generate steam, but results may vary.
How long can I keep the dough in the refrigerator?
You can let the dough rest overnight in the refrigerator for a slower fermentation and more complex flavor. Just cover it tightly and bring it back to room temperature before shaping and baking.
Why is my bread not crusty?
If your crust isn’t as crispy as you’d like, it could be due to insufficient oven heat, not preheating the Dutch oven properly, or baking without the lid on long enough. Make sure the Dutch oven is hot before baking and remember to bake uncovered at the end.
Can I double the recipe?
You sure can! Just double all the ingredients and make sure you have a large enough Dutch oven or use two to bake the loaves separately. Keep an eye on the baking time as it might need a few extra minutes.
Final Thoughts
This Dutch Oven No Knead Crusty Bread Recipe is your shortcut to artisanal bread that tastes like it came straight from the neighborhood bakery. It’s simple, satisfying, and absolutely worth the wait—trust me, once you try this method, you’ll wonder why you ever thought bread baking was complicated. So go ahead, give it a whirl and enjoy warm, crusty slices shared with those you love.
Print
Dutch Oven No Knead Crusty Bread Recipe
- Prep Time: 5 minutes
- Cook Time: 45 minutes
- Total Time: 3 hours 50 minutes
- Yield: 12 servings
- Category: Bread
- Method: Baking
- Cuisine: American
Description
This Dutch Oven No Knead Crusty Bread recipe yields a rustic, artisan-style loaf with a crunchy crust and a soft, airy interior. It requires minimal effort, no kneading, and uses the Dutch oven to create optimal baking conditions for a perfectly crusty finish.
Ingredients
Ingredients
- 1 1/2 cups warm water (about 100 degrees F)
- 1 packet yeast (active dry, instant, or quick rise – 2.25 teaspoons)
- 1 ½ teaspoons fine grain salt
- 3 1/4 cups all-purpose flour
Instructions
- Mix yeast and water: In a large bowl, combine the warm water, yeast, and salt; stir until the yeast is fully dissolved.
- Add flour and form dough: Add the flour all at once and stir until a sticky dough forms, ensuring the flour is mostly incorporated.
- Let dough rise: Cover the bowl loosely and leave it in a warm spot for 2 to 3 hours, or until the dough has doubled in size.
- Preheat Dutch oven: Place a Dutch oven with its lid inside your oven and preheat to 450 degrees F to ensure it is very hot.
- Shape dough: Transfer the risen dough onto a floured piece of parchment paper and shape it into a round loaf.
- Score the loaf: Optionally, use a sharp knife or razor blade to make slits on the top of the loaf to allow controlled expansion during baking.
- Bake covered: Using the parchment paper, carefully place the dough loaf into the hot Dutch oven, cover with the lid, and bake for 35 minutes.
- Bake uncovered: Remove the lid and bake for an additional 5-10 minutes until the crust is a deep golden brown and crisp.
- Cool: Remove the bread from the Dutch oven and cool on a wire rack for at least 10 minutes before slicing to allow the crumb to set.
Notes
- Make sure the water is warm but not hot to activate the yeast properly without killing it.
- Do not knead the dough; its stickiness is key to developing texture naturally during the rise.
- Letting the dough rise in a consistently warm environment speeds fermentation and improves flavor.
- Using parchment paper makes transferring the dough to the Dutch oven easier and prevents sticking.
- Scoring the loaf is optional but helps prevent the bread from bursting irregularly while baking.
- Allowing the bread to cool before slicing results in better texture and flavor development.


